COMP1802: Advanced Database Technologies Lab 2 Creating a Database
- Subject Code :
COMP1802
COMP1802: Advanced Database Technologies
Lab 2
Creating a Database
In the laboratory projects of this course, you will be using your Virtual Machine (see Lab 1).
VMware vSphere login details:
- username = your Portal username
- password = your Portal password
Also will you assume the role of a database administrator (DBA).
The Linus Operating System (OS) accounts on your computer are:
- username = oracle
- password = oracle
The Oracle Database software is installed on your Virtual Machine.
During this lab you will create your first Oracle database.
Note:Completing this lab is critical for all following laboratory projects.
You must complete this Lab 2 successfully!
Formative assessment
As you go through the lab assignment, you will encounter some questions. You need to answer these questions, including making screenshots or explanations or discussions, if necessary. You can write your answers in this document.
The same questions are also provided as Deliverables at the end of this document. Please bring your answers to the next weeks seminar for discussion.
Lab 2.1: Creating an Oracle Database
1) Login to your Virtual Machine using your Portal username and password. Use Lab 1 for guidelines.
2) Before starting to create a database, we need to start a LISTENER that was created for us already.
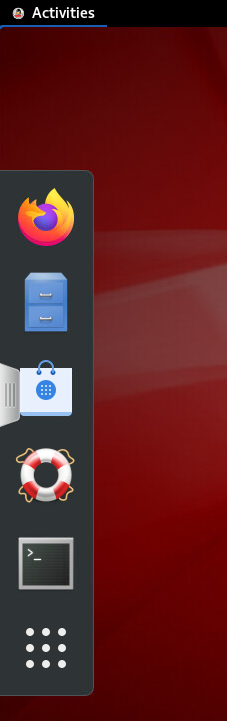
- Open Terminal window by clicking on Activities -> Terminal:
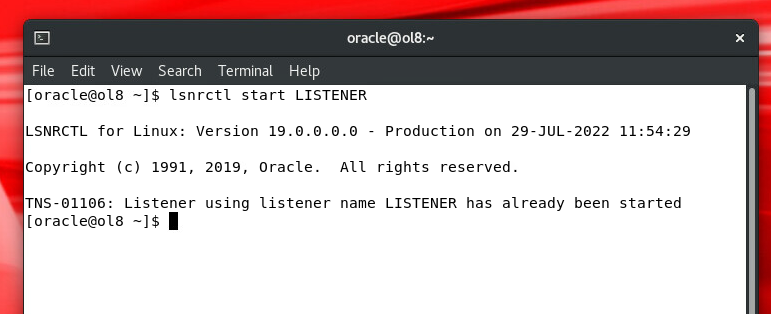
- Type the following command on the Terminal after the prompt $, to start the listener named LISTENER:
lsnrctl start LISTENER
or type the following shorter command, as we have only one listener:
lsnrctl start
3) To create your database, you will use the utility Database Configuration Assistant (DBCA).
a. To start the DBCA, enter dbca after the prompt $ on the Terminal
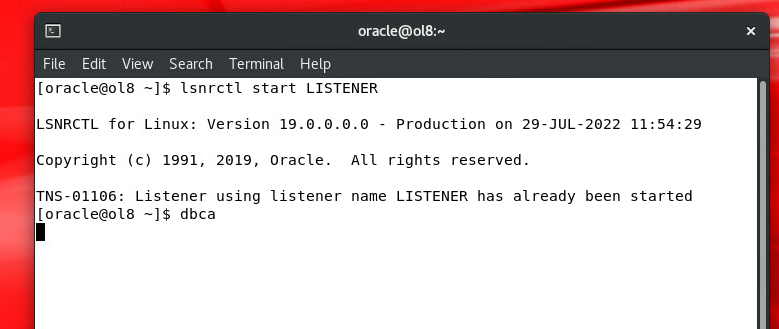
DBCA starts.
Please follow the following steps very strictly. If you make any mistake, your DB will be created incorrectly. Make sure you do it once and correctly!
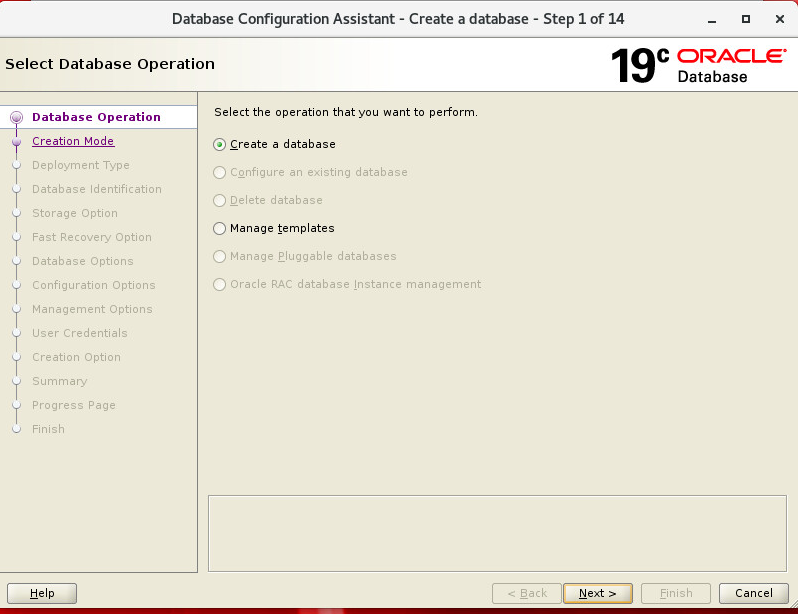
b.Step1: On the Database operation page, select Create a Database,and then click Next.
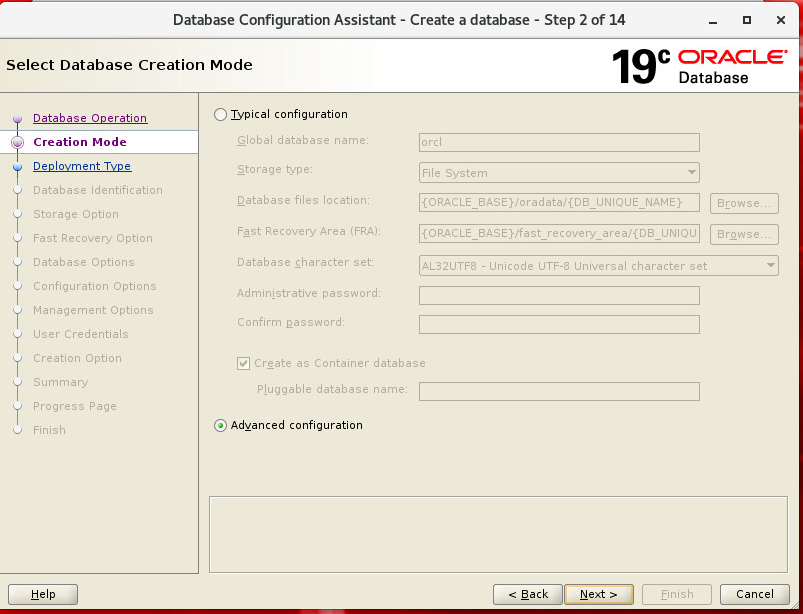
Step 2:On the Creation Mode page Choose Advanced Moderadio button, then click Next.
Step 3:On the Database Templates page, select General Purpose or Transaction Processing.
Then click on View detailslink and make a screenshot.
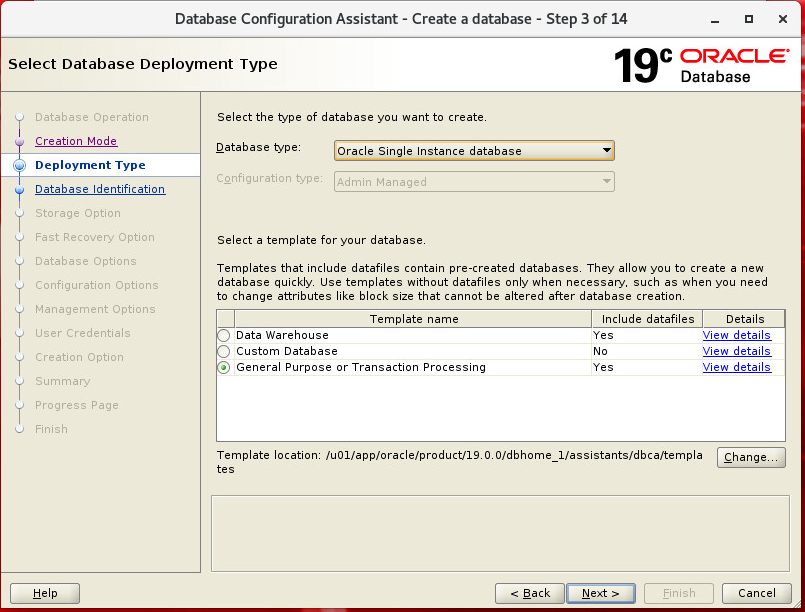
Review the template details and note the future location of the control files, redo log files and data files.
At the end of the lab you would need to verify the creation of these files and their location.
Click Closeto close the template details window and then Click Next.
Step 4:On the Database Identification page, enter your student Portal usernameas Global Database Name. For example, your database name could be pr56or gh781, etc.
The SID defaults to the database name. Make a note of your database SID.
Your Global Database Name and SID should be the same, both as your student Portal username.
Make sure to un-tickthe tick box for Create as a Container database. We are not creating a container database.
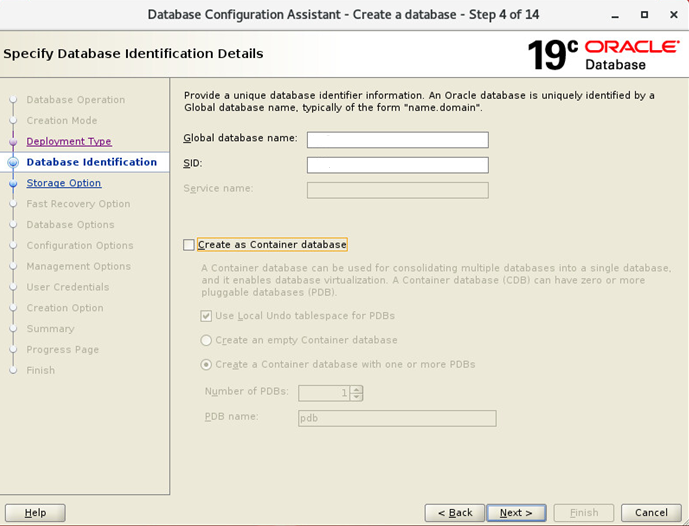
Then click Next.
Step 5:On the Storage Option page, ensure that Use template file for database storage attributesis selected. Click on the button File locations variables and make a note of the file location variablesby making a screenshot.
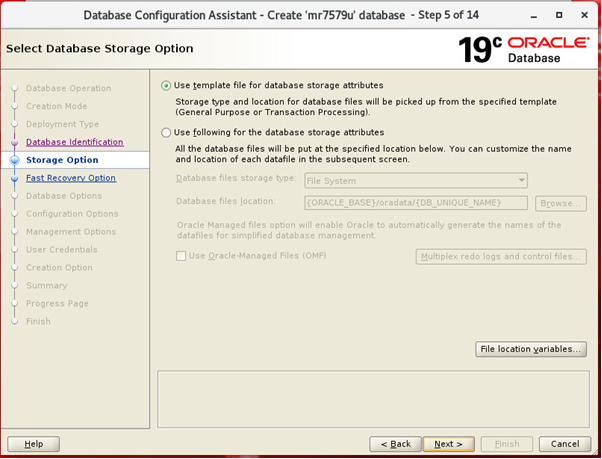
Make a screenshot of your own File locations variables screen. Click Next.
Then answer the following Question 1.
Question 1: a) What are file location variables and their purpose? Explain.
- b) Which variables have been created and what values do they have?
Step 6: On Fast Recovery Option pagemake sure Specify Fast Recovery Area is selected andclick Next.

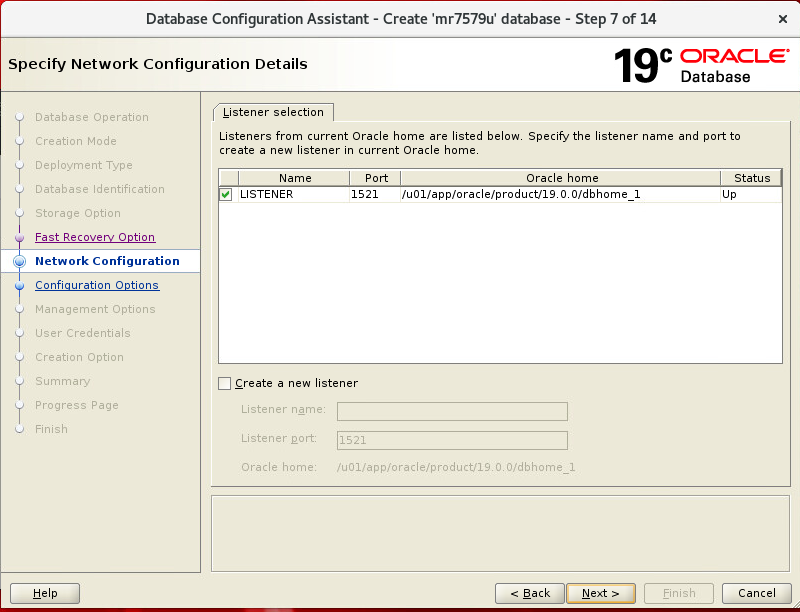
Step 7: On the Network Configuration page note that the listener is already is created, the name is LISTENERand its port is 1521and the Status=Up (running)
However it might not be running, with status Down. In this case you need to start listener again on the Terminal (see item 2 (a) and (b)). After receiving a confirmation on success of the starting the listener, return to dbcapage Step 7 and click Next.
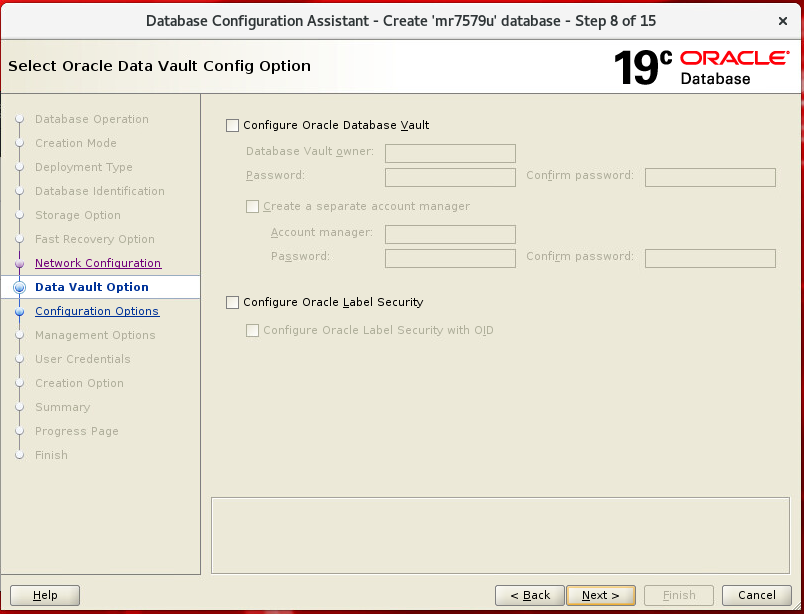
Step 8: On the Data Vault Optionpage, please do not select anything and press Next.
Step 9:On Configuration Options page you will be exploring all tabs. Click Nextonly afteryou explore all five tabs: Memory, Sizing, Character Sets, Connection Mode, Sample schemas.
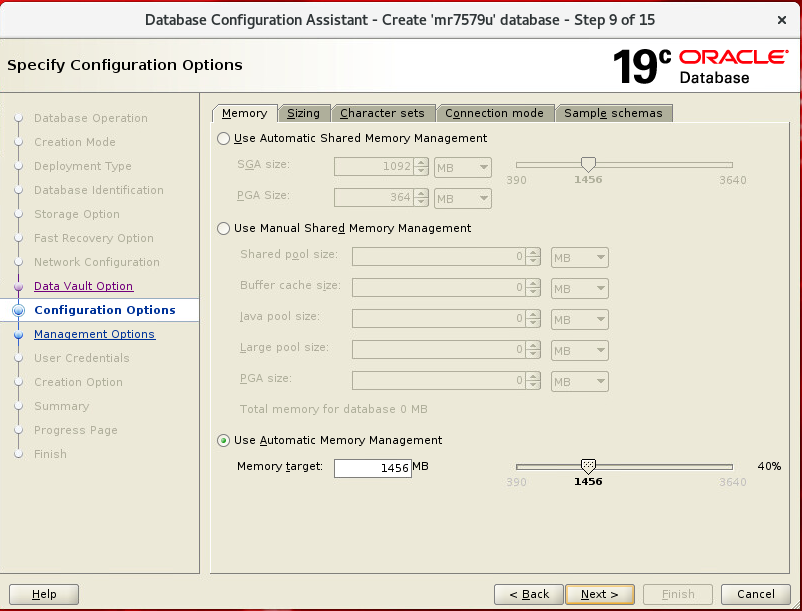
9a)Firstgo to Memorytab, note the Use Automatic Memory Managementselected with Memory target=1456 MB
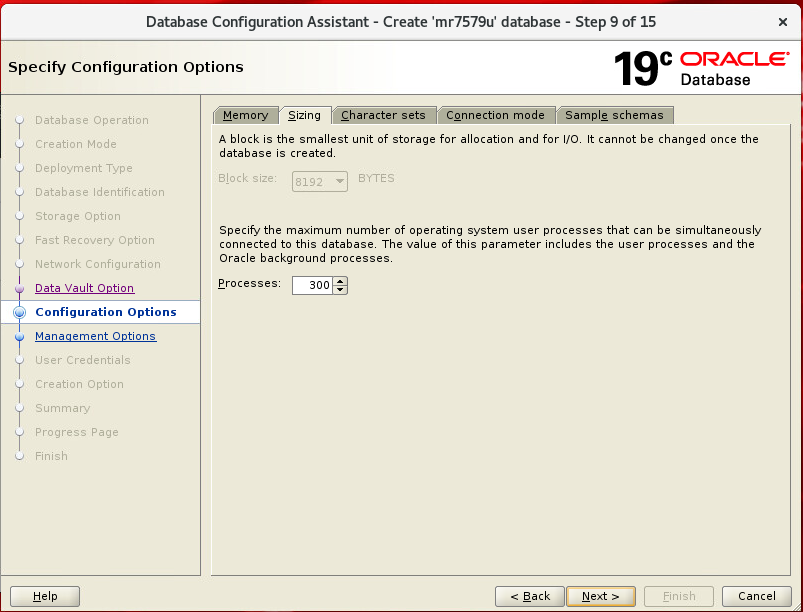
9b)Then go to Sizingtab. Note the Block Size.
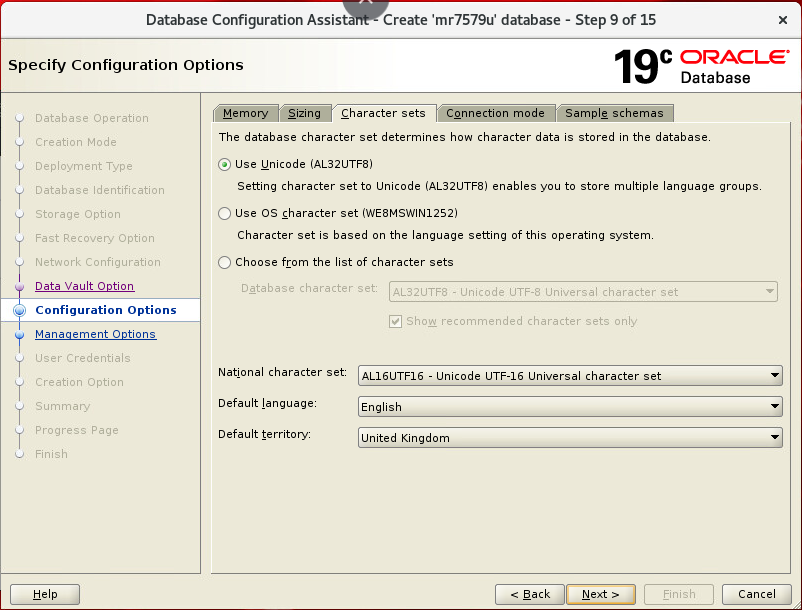
9c)Then go to Character Setstab. Note that the following options are selected:
Use Unicode (AL32UTF8)
Default language=English
Default territory=United Kingdom
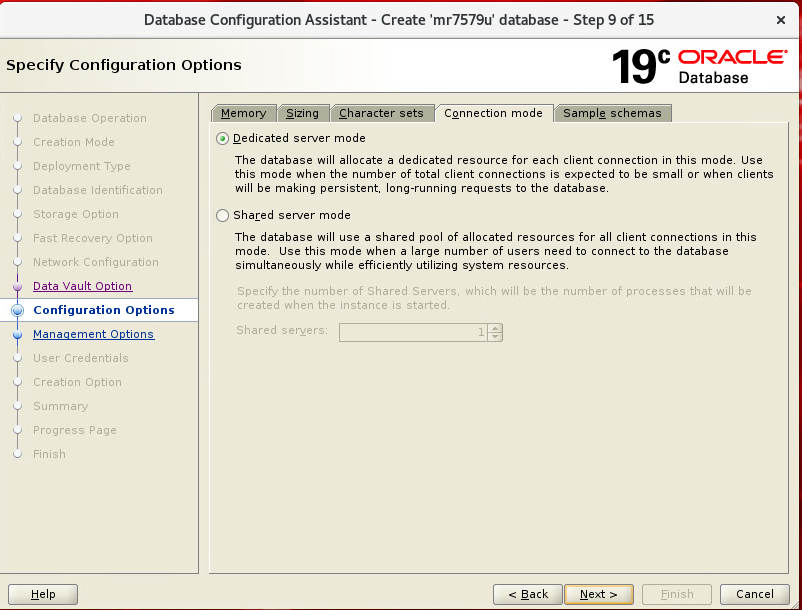
9d)Then go to Connection Modetab. Note Dedicated server modeis selected.
Read about Dedicated Server Mode and Shared Server Mode and their differences!
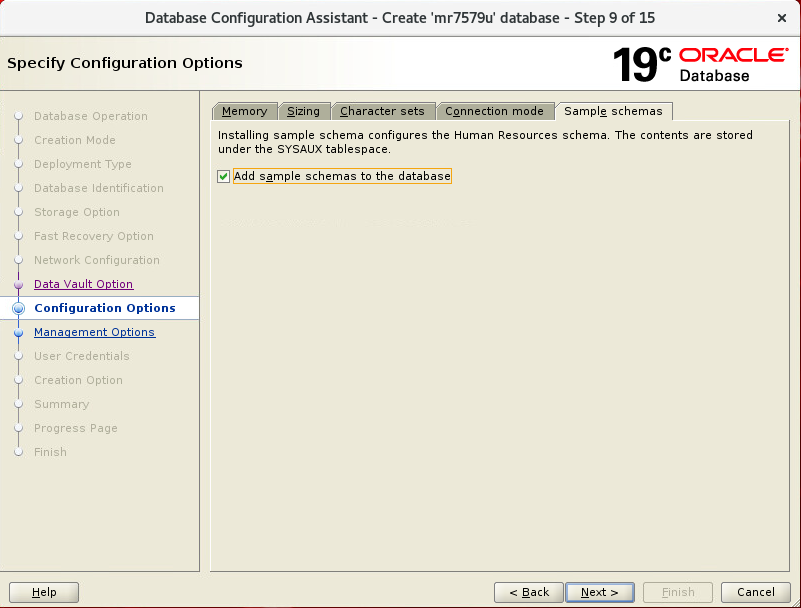
9e) Then click on Sample schemas tab.
MAKE SURE Add sample schemas to the database IS SELECTED
It is very important that the Sample schemas are added to our database, otherwise we will not have any data to work with.
Finally click Nextand proceed to step 10.
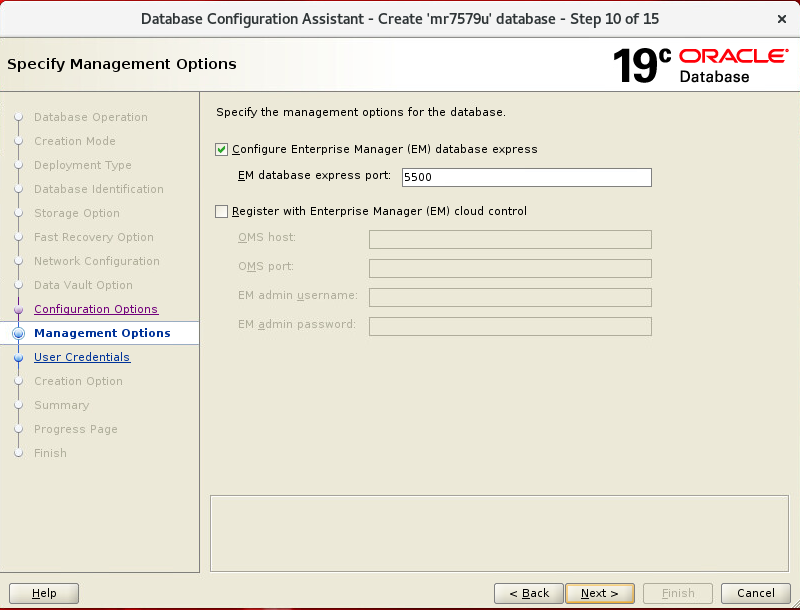
Step 10: OnManagement Options page make sure Configure Enterprise Manager (EM) database
expressis selected. Note the port number. We will need this web interface to work with
the database. Then press Next.
Step 11:On the User Credentialspage, select Use the same administrative password for all Accountsand enter oracle(in lowercase letters) as Passwordand Confirm Password. Then click Next.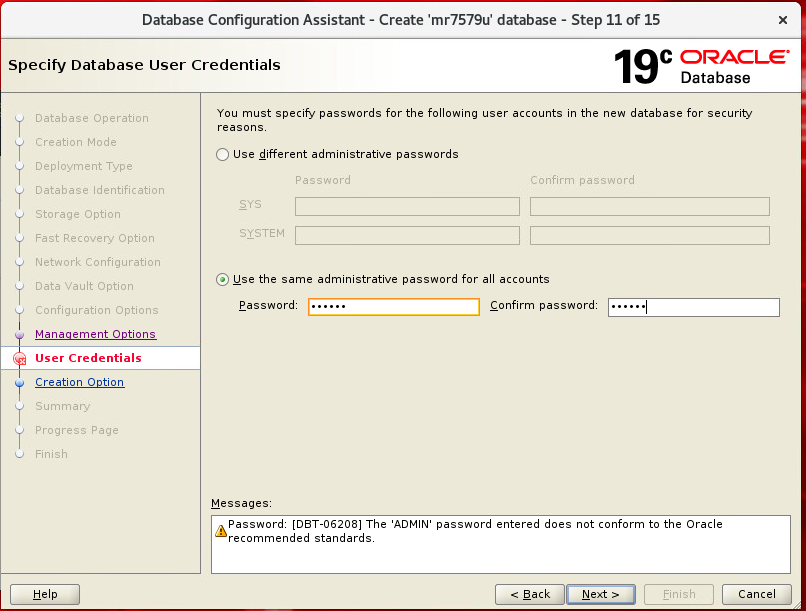
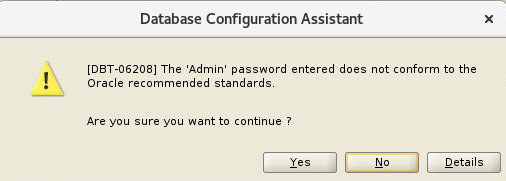
When you get a Warning about the simplicity of the password, press Yesto continue.
Using such simple password oracle is not a very good idea, but we will keep it for simplicity of the labs. In real life you would need to assign much more complex password.
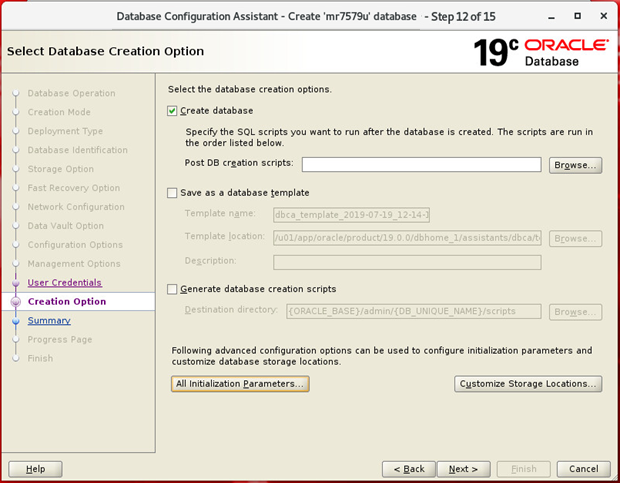
Step 12:On the Creation Option, leave Create databaseselected.
Then click on the button All Initialization Parametersbutton, make a screenshot and note the values of initialization parameters. Then press Next.
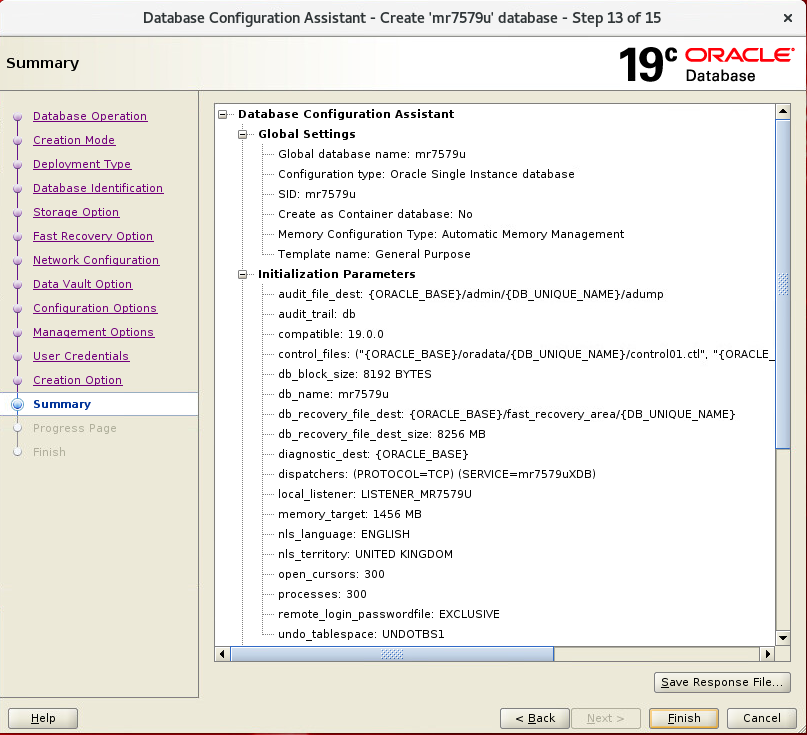
Step 13:Review the Summary of the parameter settings. Scroll down, make a screenshot and note
he future location of the data files, control files and redo log files.
At the end of the lab you would need to verify the creation of these files and their location.
Then press Finish.
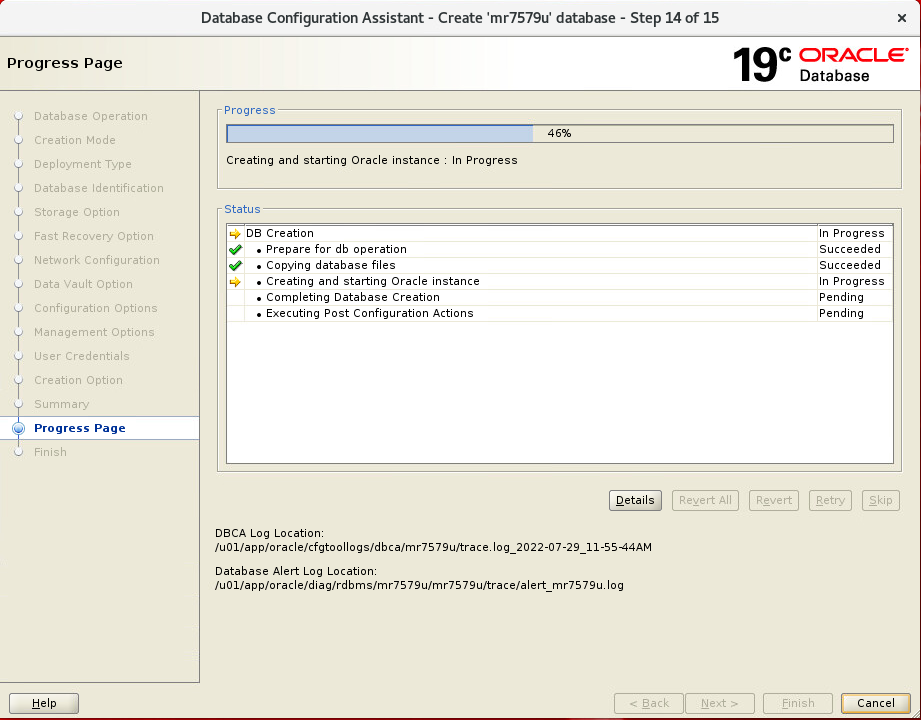
Step 14)On the Progress pagethe DBCA displays the progress of the various steps of DB creation.
It might take up to 15-25 min, depending on the VM load
Wait for the process to complete successfully (get 100%). Do not close the VM.
Hint:If you start dbca but do not complete DB creation, please do not try to create the second DB by starting dbca again. Two databases on one VM (virtual machine) will not work. Instead, you should request a new VM from cms-support@gre.ac.ukto be assigned to you and start the process there.
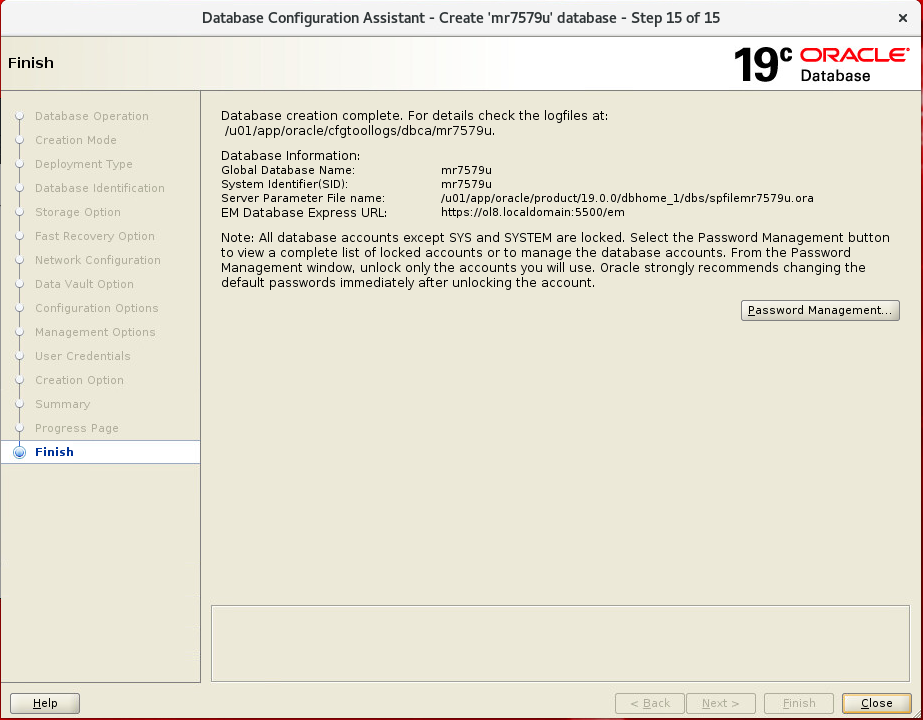
Step 15)When the database has been created, the DBCA displays the essential information about the database on the Finish page.
Make note of this information.
Write down the URL for the Oracle EM Database Express: https://ol8.localdomain:5500/em
Or you can use this URL for the Oracle EM Database Express: https://localhost:5500/em
Then click on the Password Managementbutton.
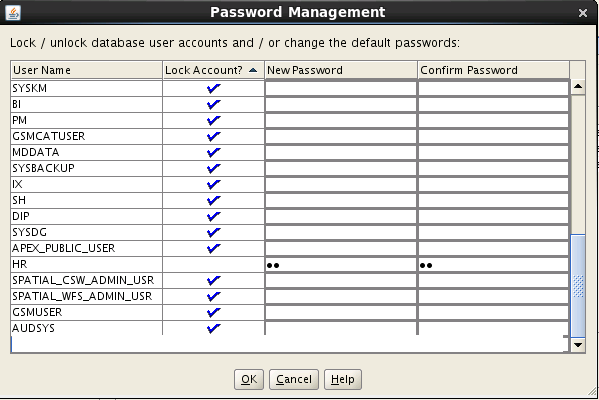
Then scroll down the Password Managementpage until you see the HRusername.
Deselect Lock Account?and enter hras the New Passwordand Confirm Passwordfor the user HR.
Then click OK.
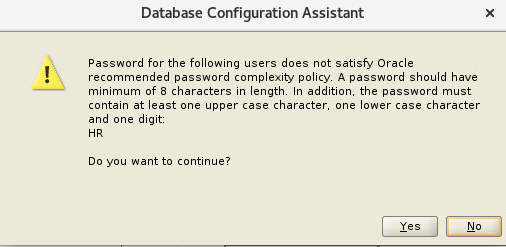
Click Yeson the password warning:
Click Closeto close the DBCA on the last Step 15.You have completed the task of creating a database.
Lab 2.2: Verify the creation of the database
1) Make sure your listener is running. You can check with the command in the Terminal window:
lsnrctl status LISTENER
If the listener is not running yet, start the listener:
lsnrctl start LISTENER
- Open File Browserby clicking on
Activities -> Files -> Other locations -> Computer -> u01 - >app -> oracle
and verify that the physical storage fileshave been created correctly.
(Hint: see locations on the Summary screenshot of Step 13 and check in the folders
fast_recovery_areaand oradata).
Answer the following Question 2
Question 2:
- a) How many control files have been created and where they are located (the exact directory path)? Provide a screenshot and brief explanation.
- b) How many redo log groups have been created? What is the location (the exact directory path) of the online redo log files? Provide a screenshot and brief explanation.
- c) How many data files have been created and where they are located (the exact directory path)? Provide a screenshot and brief explanation.
3) Start Oracle Enterprise Manager (EM) Database Express .
- a) Open Firefox browserby clicking on Activities -> Firefox.
If you get Server Not Found, just open a new tab andwrite the URL that you noted down on Step 15 in the address bar. https://ol8.localdomain:5500/em
Or, alternatively, since you running the database on the localhost, you can also use the following URL to connect to the EM: https://localhost:5500/em
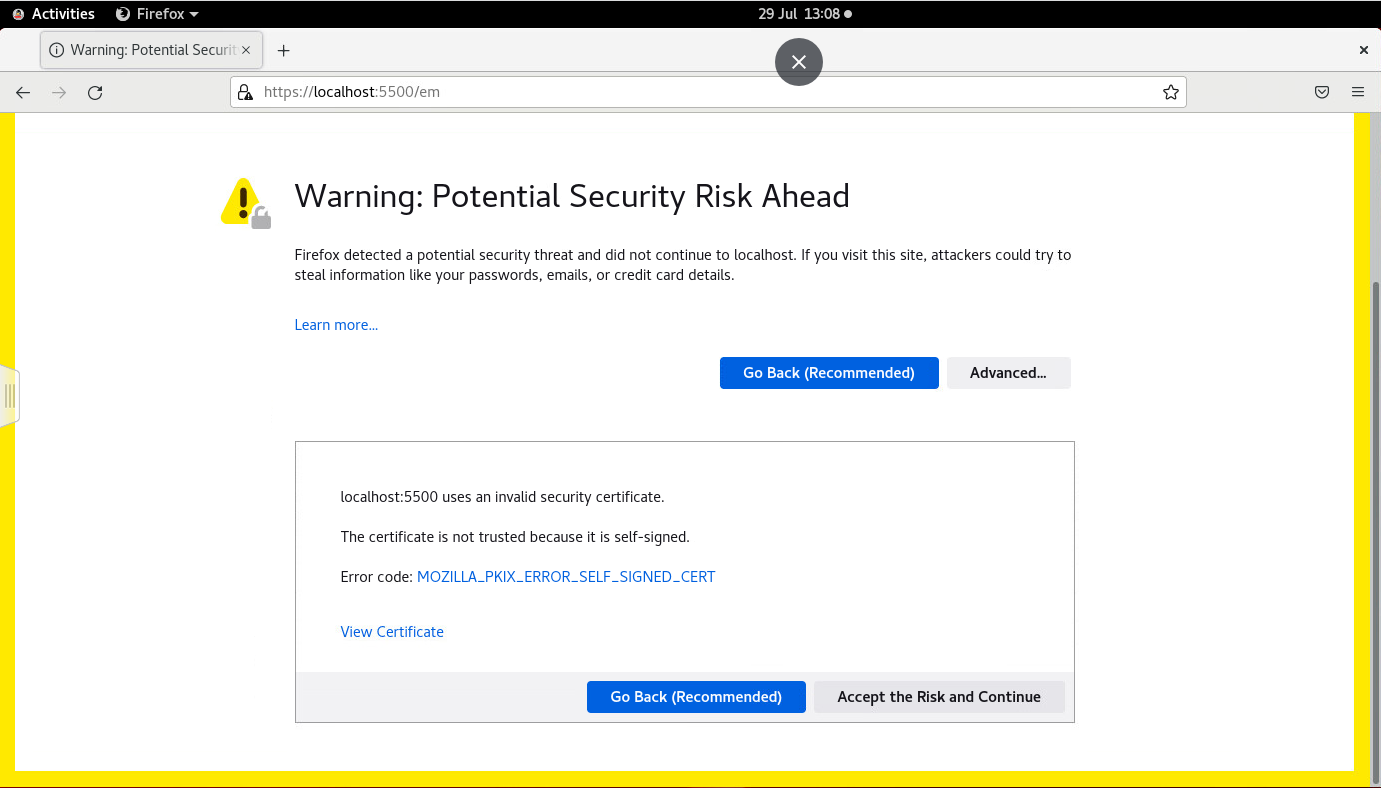
b) On the next screen click on Advancedbutton
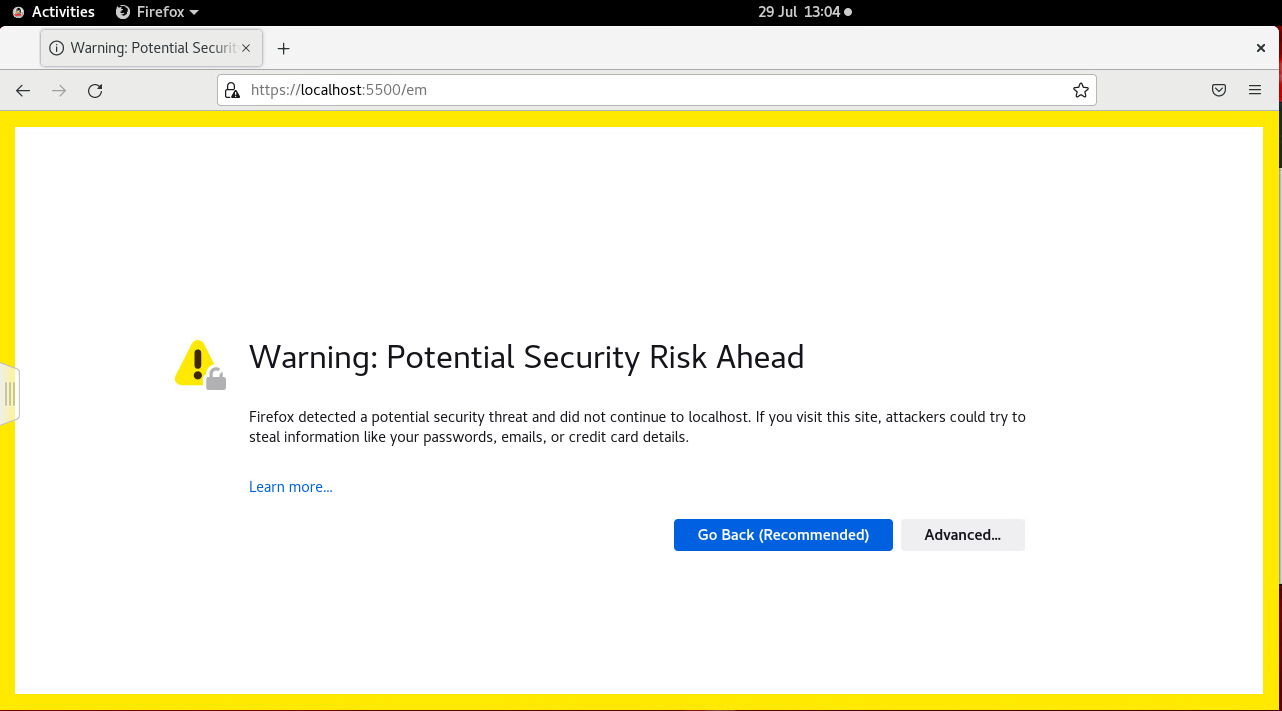
Then click on Accept the Risk and Continuebutton.
- It should open login screen for EM:
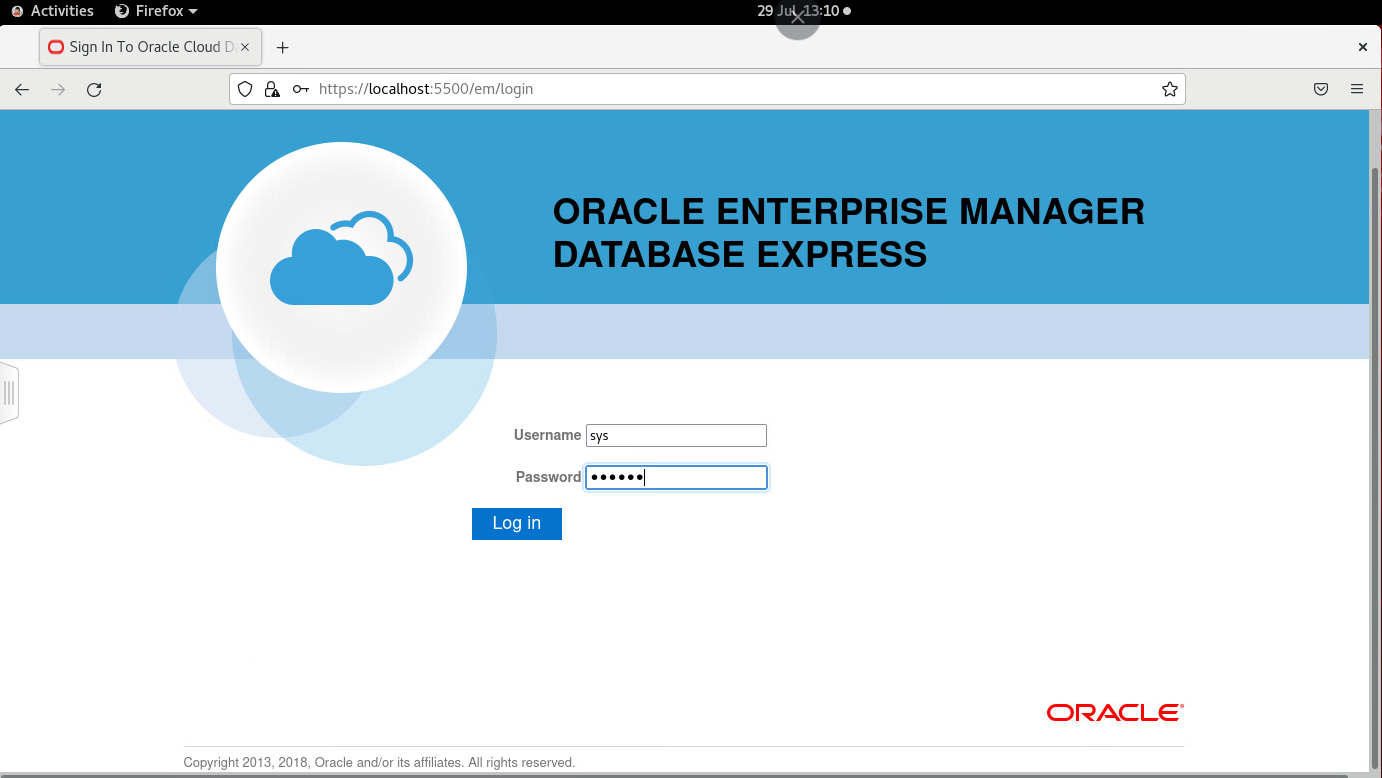
Please provide correct credentials:
Username = sys
Password = oracle
Click on Log inbutton. You do not need to save the login details.
d) It should open EM Database Express:
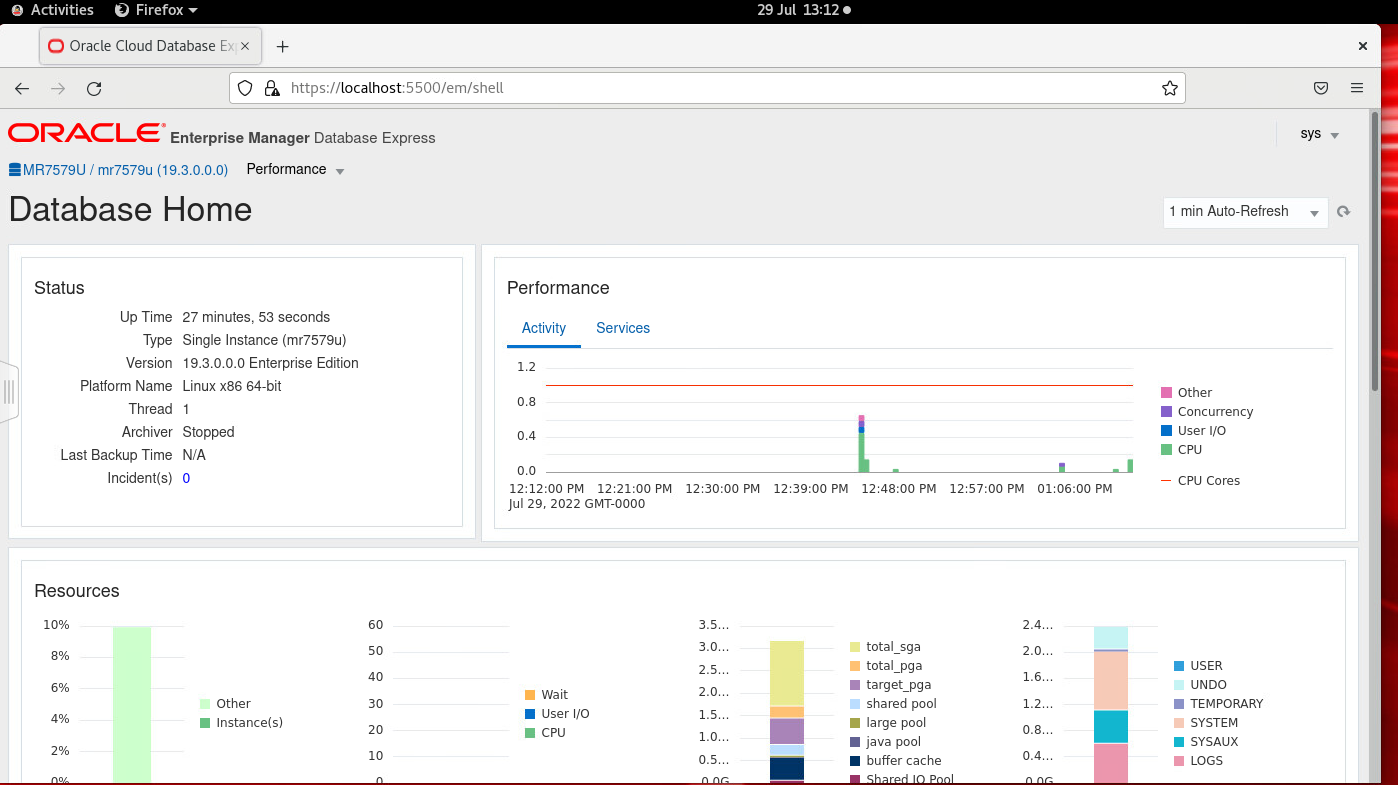
Please make a screenshot of your EM Database Express screen as a proof that your DB is created. Verify your SID and database status.
To close EM Database Express click on sys -> logoutin the top right corner.
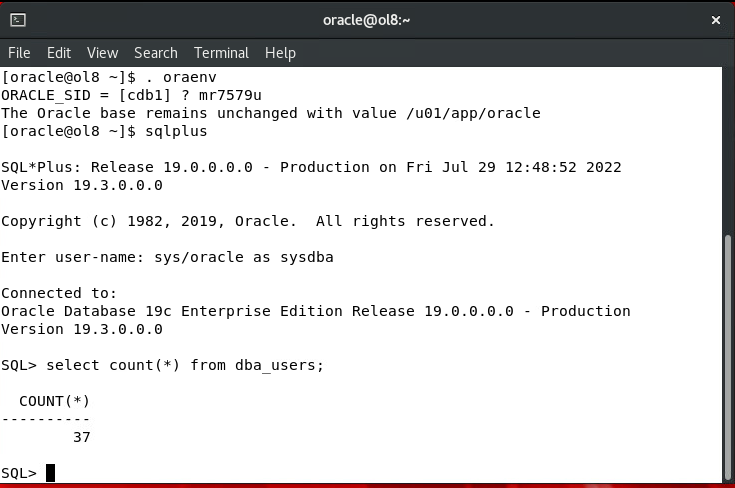
- Run SQL*Plus in the Terminal window as follows:
- Set the environment to your database, after $, using:
. oraenv
(Do not forget a space between . and oraenv)
- Then after ? provide your databases name(instead of mr7579u)
- Start SQL*Plus with sqlplus
- Connect as sys/oracle as sysdba
Please check how many users have been created. Use select command and data the dictionary view dba_users. You should get 37 users.
Deliverables:
Please write your answers to Question 1 and Question 2 given during this lab 2.
The same questions are also provided below. Please bring your answers to the next seminar. We will be discussing your answers. This is part of your formative assessment!
Question 1:
- a) What are file location variables and their purpose? Explain.
- Which variables have been created and what values do they have?
Question 2:
- How many control files have been created and where they are located (the exact directory path)? Provide a screenshot and brief explanation.
- How many redo log groups have been created? What is the location (the exact directory path) of the online redo log files? Provide a screenshot and brief explanation.
- How many data files have been created and where they are located (the exact directory path)? Provide a screenshot and brief explanation.
